This tutorial describes and explains how to set up the EDD Dropshipping Client, available here.
Create your API Keys and Set up your Payment Gateway
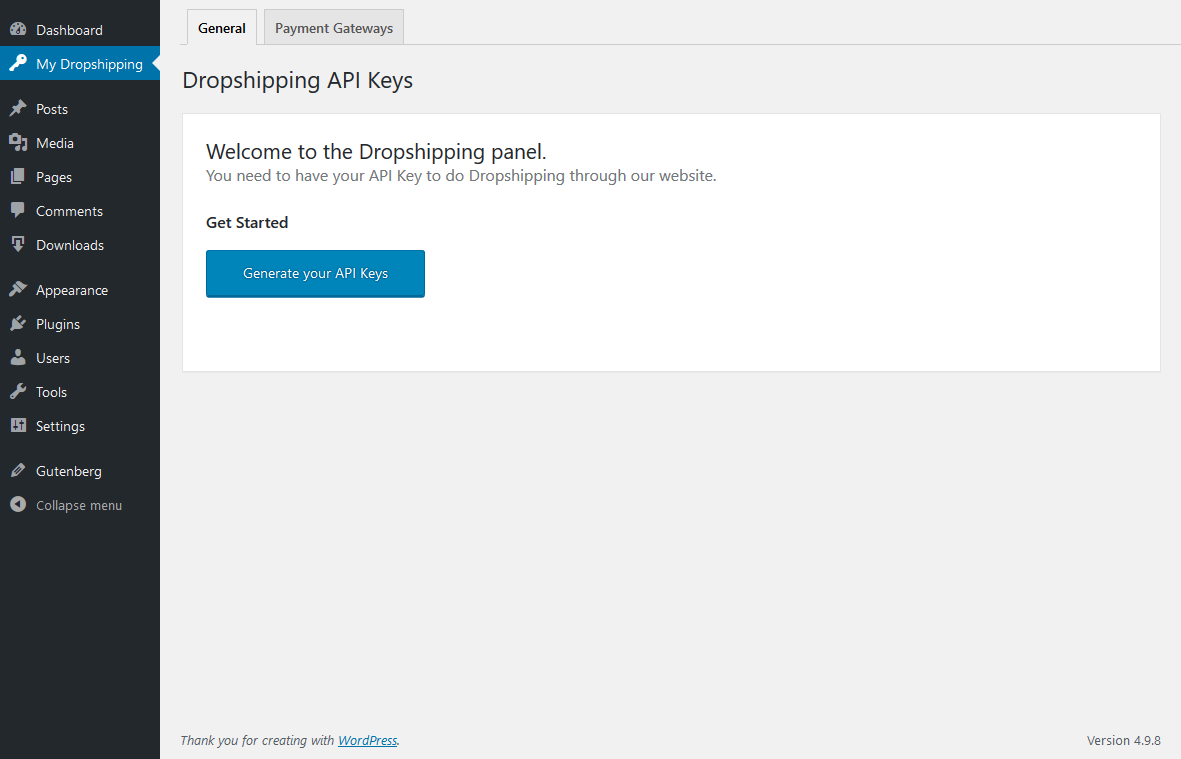
1- Log in to the WordPress Admin Panel of your provider, and go to the “Downloads” menu in the left panel -> My Dropshipping.
2- Create your API Keys automatically by clicking on the Generate your API Keys button.

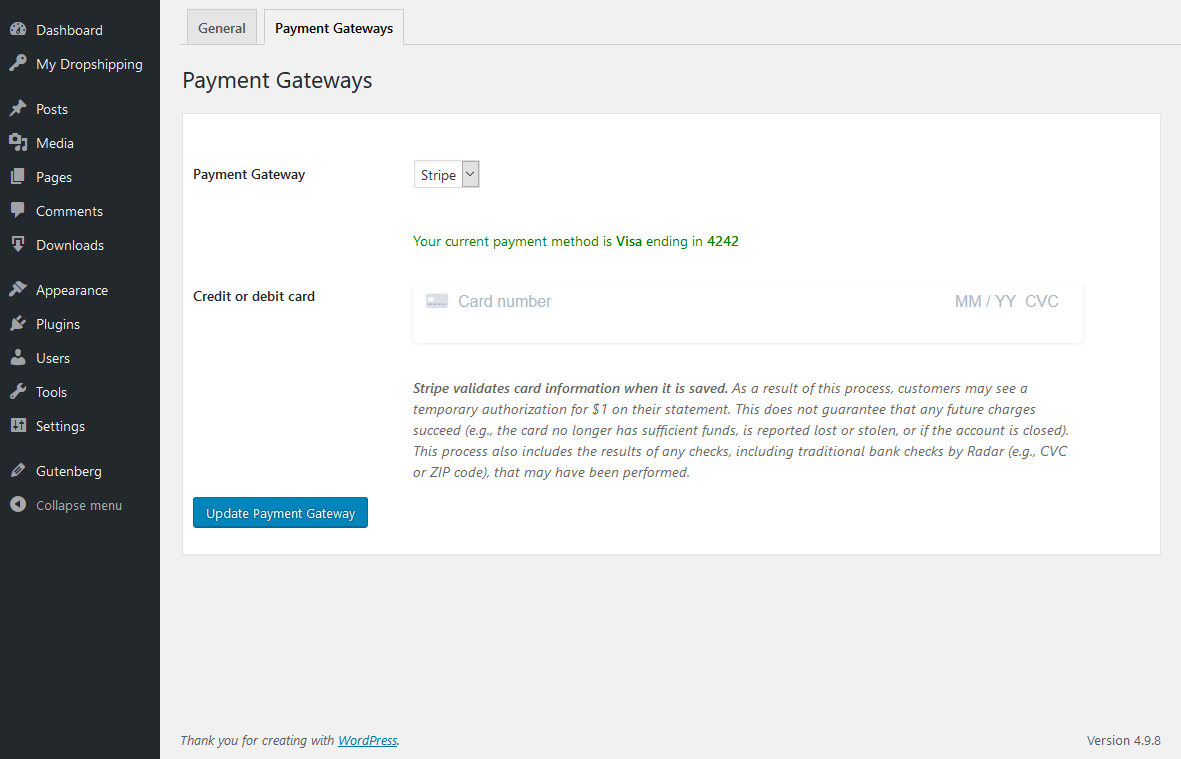
3- Go to the Payment Gateways tab, select your preferred gateway, and add your credit card details.

Set up your Dropshipping Website
1- Log in to your WordPress Admin Panel, and go to the “Downloads” menu in the left panel -> Settings.
2- Go to the Dropshipping Client tab.
In this tab there are two (2) types of configurations, Servers Settings and Sync Settings. We will explain each one below.
Servers Settings
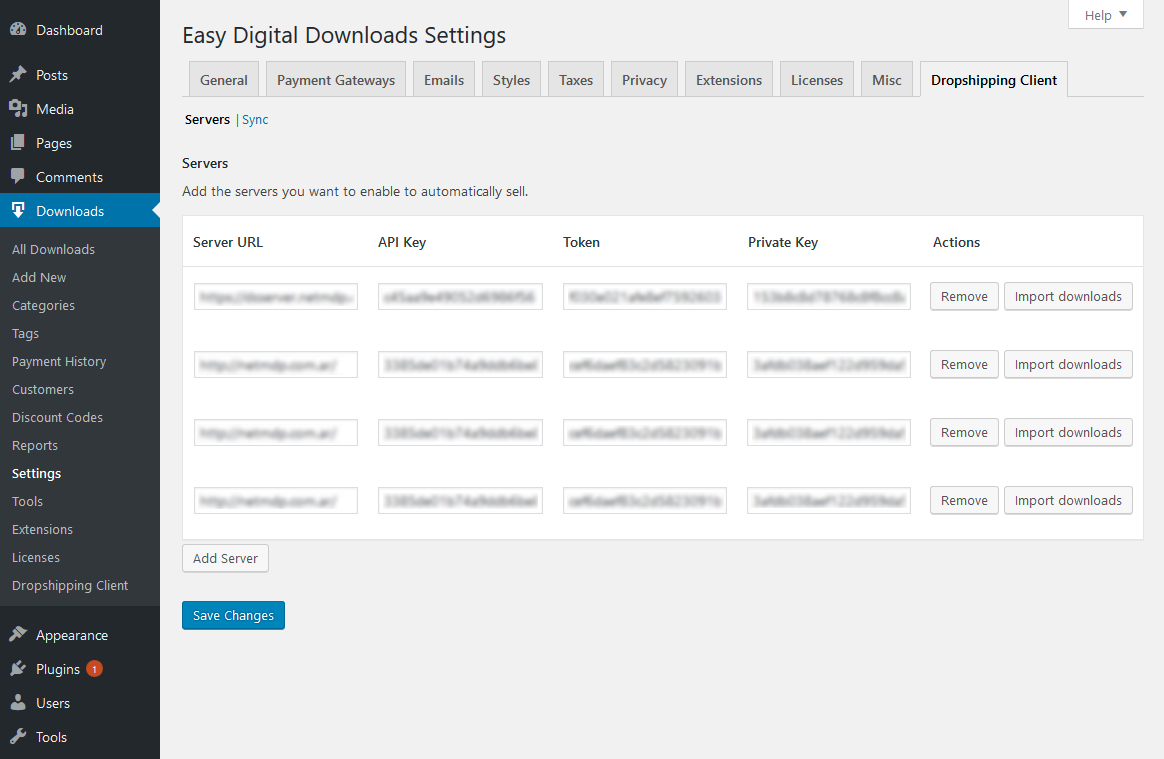
- Add the servers you want to enable to automatically sell.You must add your API Keys to be able to perform Dropshipping on your website.
- Import products.You must click on the button “Import downloads” to import the products from the Dropshipping Server and save them on your site
- Remove servers.Use the “Remove” button to remove the servers you do not want to use.

Sync Settings
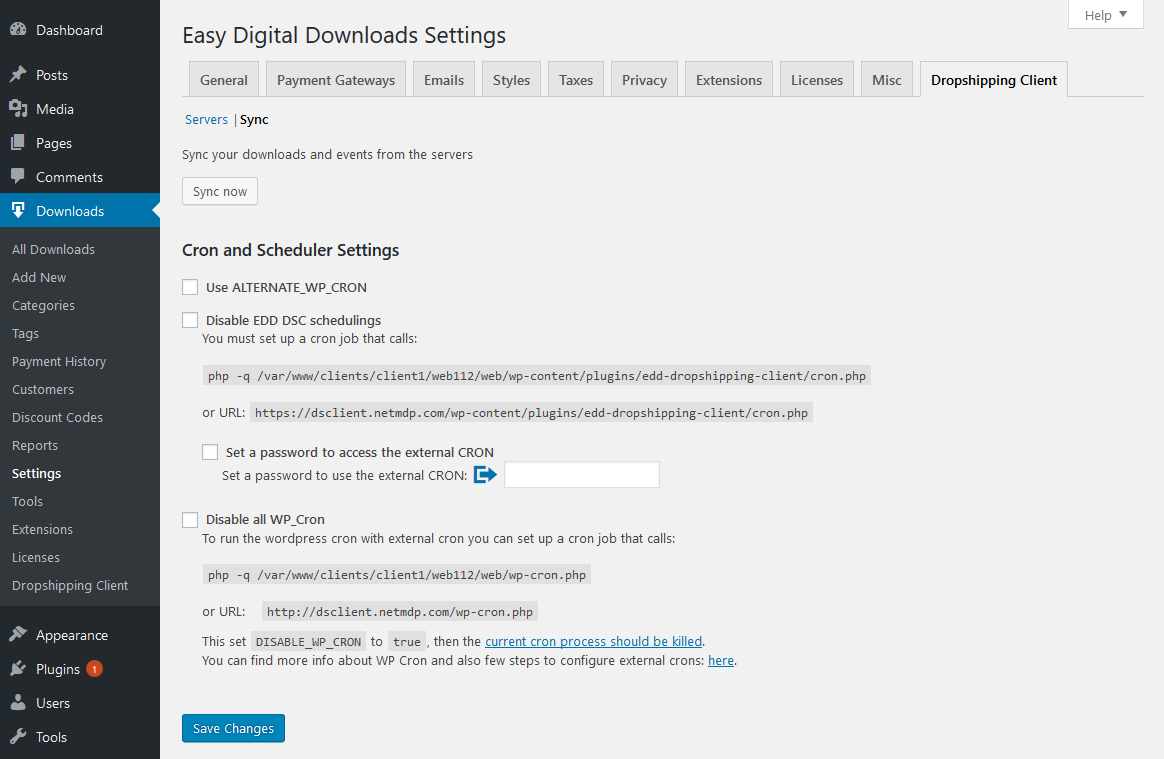
- Sync your downloads and events from the servers.You can do this manually or setup a CRON job to do it automatically every so often.


