
Set up the campaign to publish posts from office files on your site in just 5 steps!
| Click on each item for more details or click to display all descriptions of the steps |
|---|
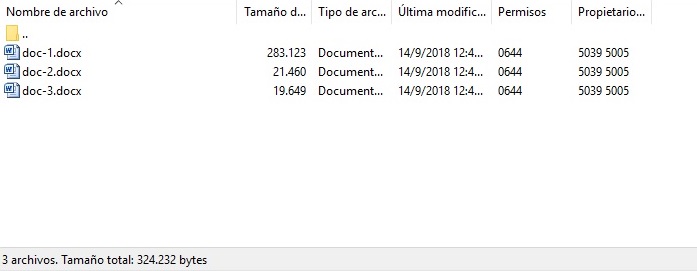
Step 1 - Store the office files on your server Add the office files that you will use in a folder inside your server and copy the path.
|
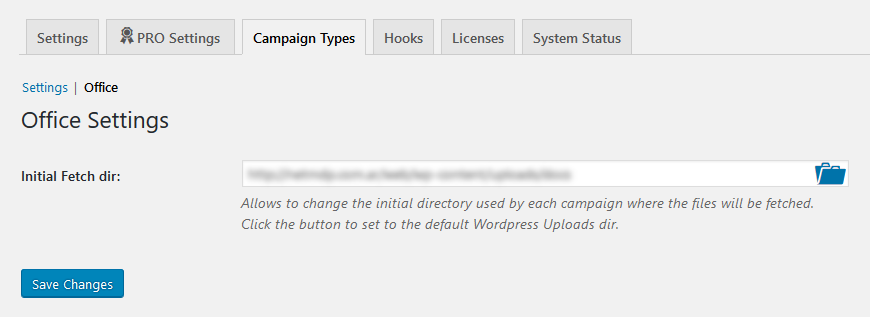
Step 2 - Set a default path Add the path in the “Initial Fetch dir” text fiel.
|
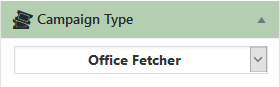
Step 3 - Change the campaign type Select the camping type “Office Fetcher”.
|
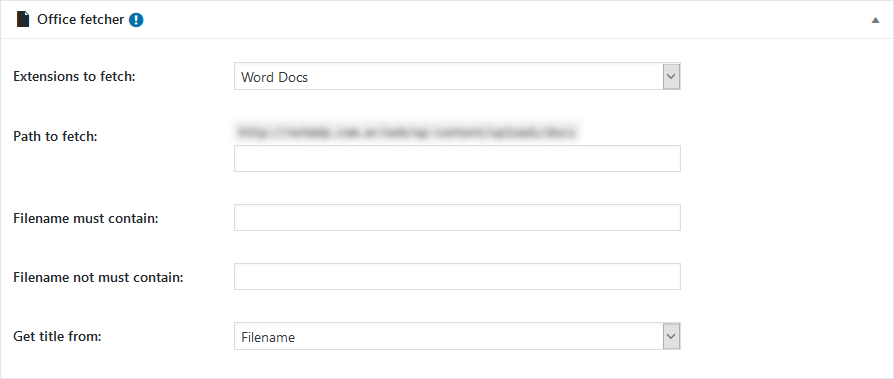
Step 4 - Set the Office fetcher options You can choose the extension of the files, add an extra path if the files are in another folder within the default path, filter files through keywords that contain or not the filename, and choose where you want to get the title for the posts.
|
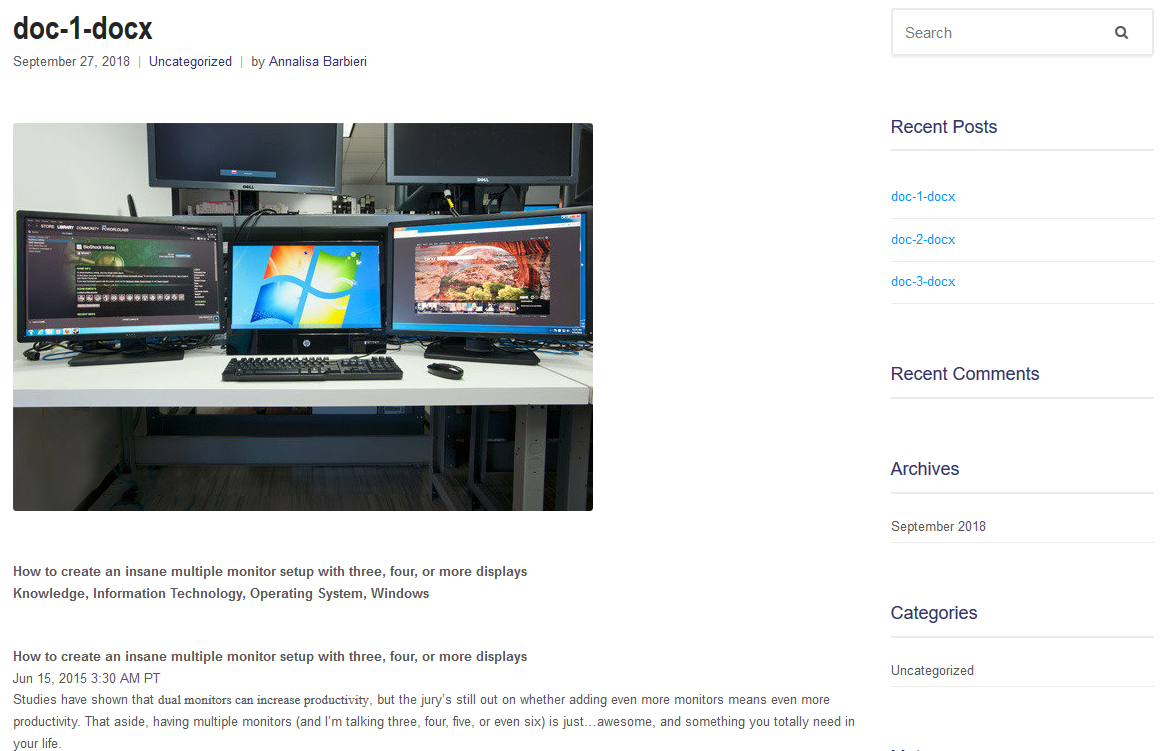
Results