

Table of Contents
The Coinbase Payment Gateway allows you to accept cryptocurrency payments through Coinbase Commerce. In order to enable cryptocurrency payments on your site, you will need to purchase the Coinbase Payment Gateway and register a free account with Coinbase Commerce.
Once you have a Coinbase Commerce account, go to your Coinbase Dashboard and locate the Settings page. On that screen, locate the API Keys section and create and API key.
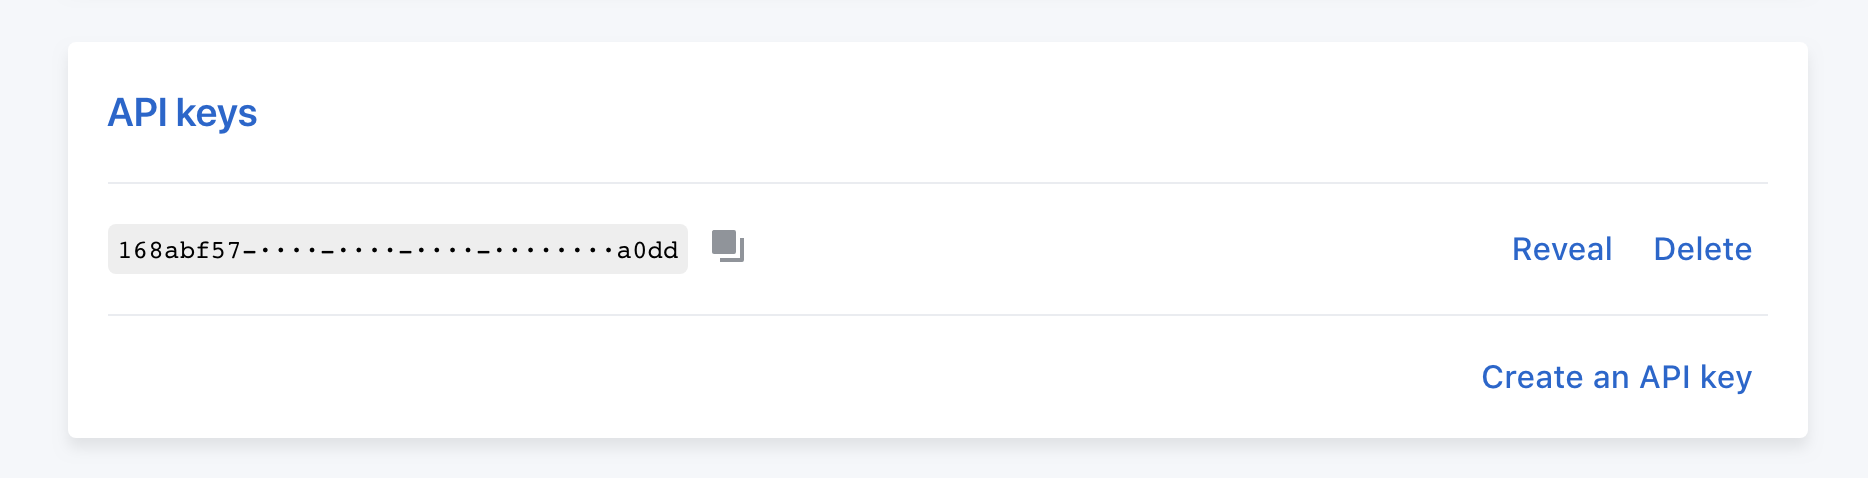
Once an API key is created, copy the API Key to your clipboard. You will need this in order to connect Coinbase to your website using Easy Digital Downloads or Restrict Content.
Now log into your WordPress site and install the Coinbase Payment Gateway plugin, if you have not already. If you need assistance installing the plugin click here.
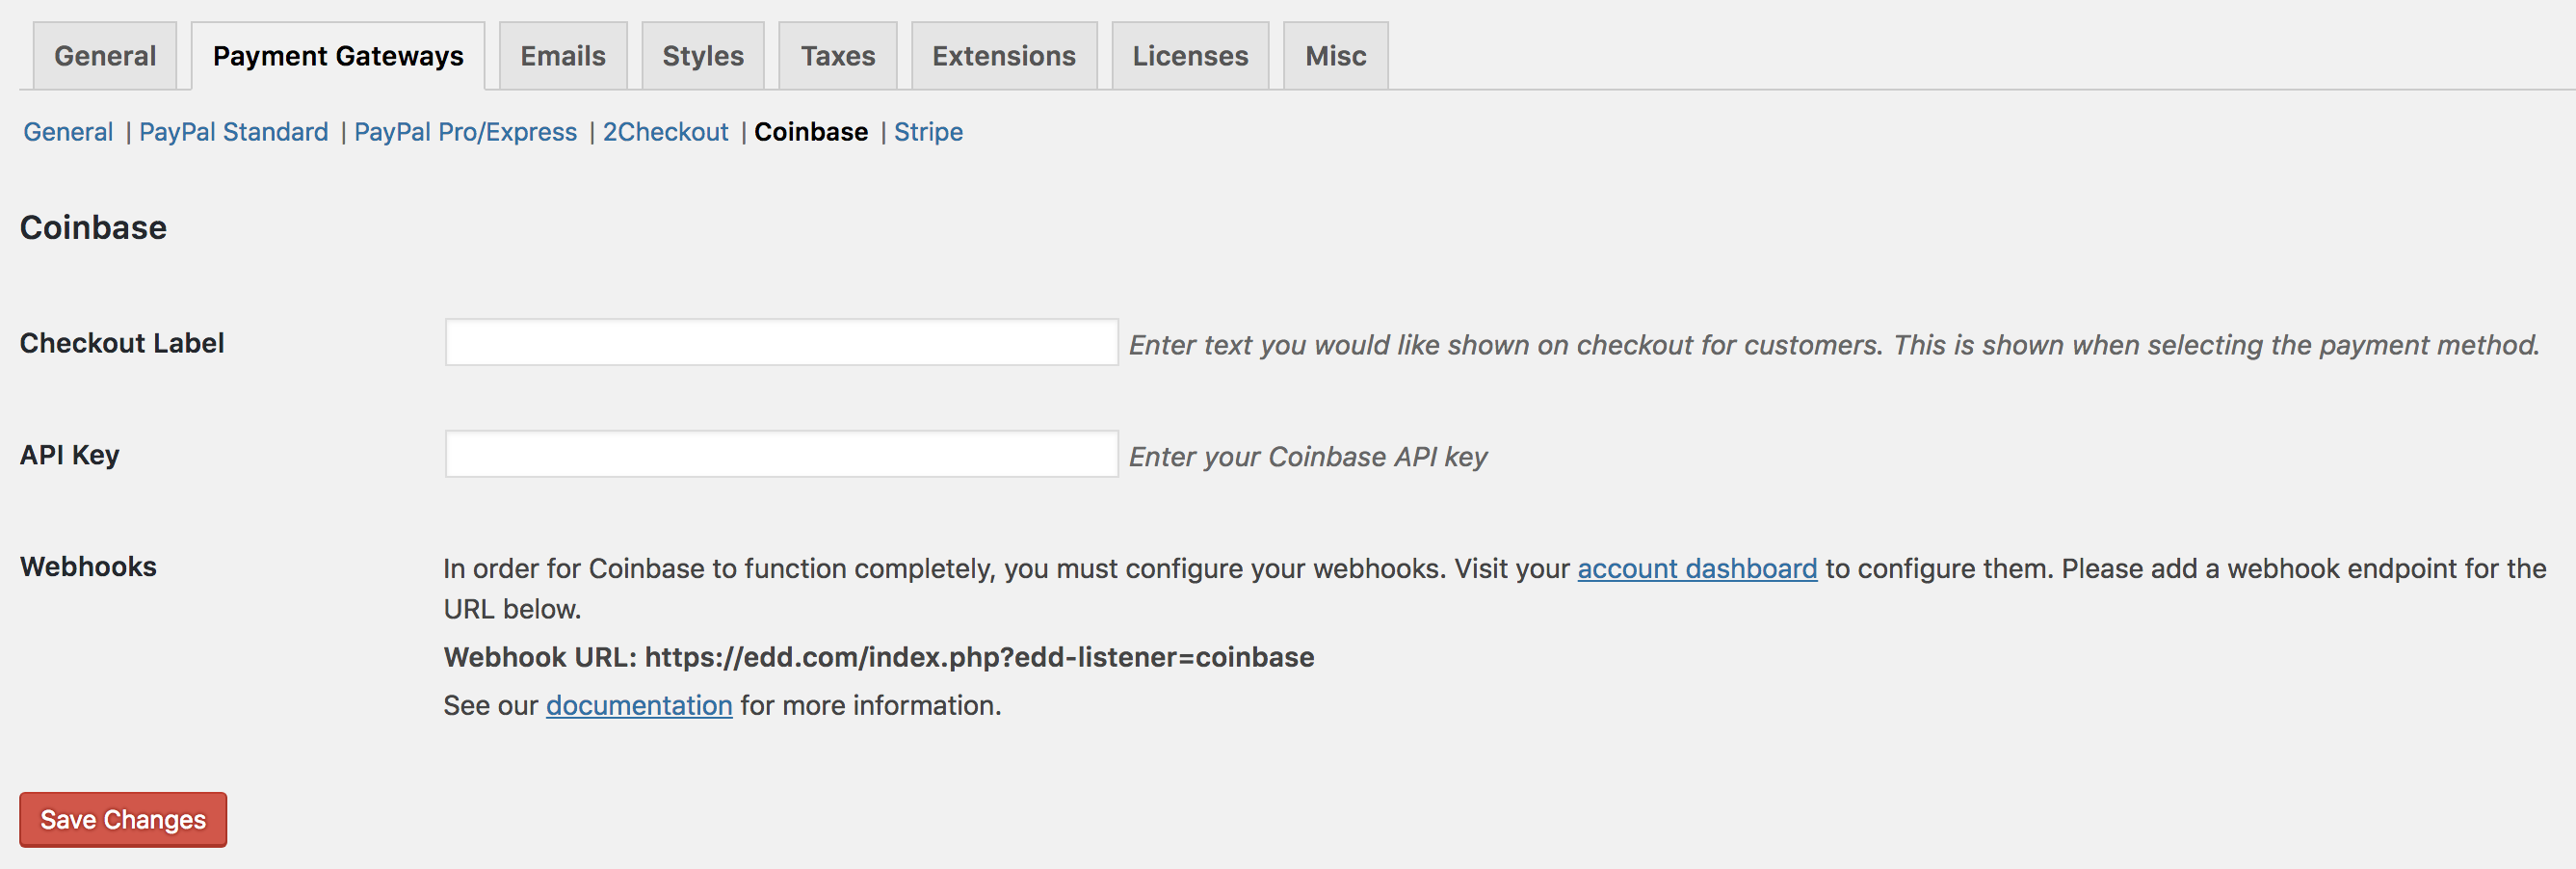
Once you are logged into your WordPress site, you must click on Downloads > Settings > Payment Gateways and locate the Coinbase section. Here, enter your API Key and, optionally, a label to be shown at checkout:
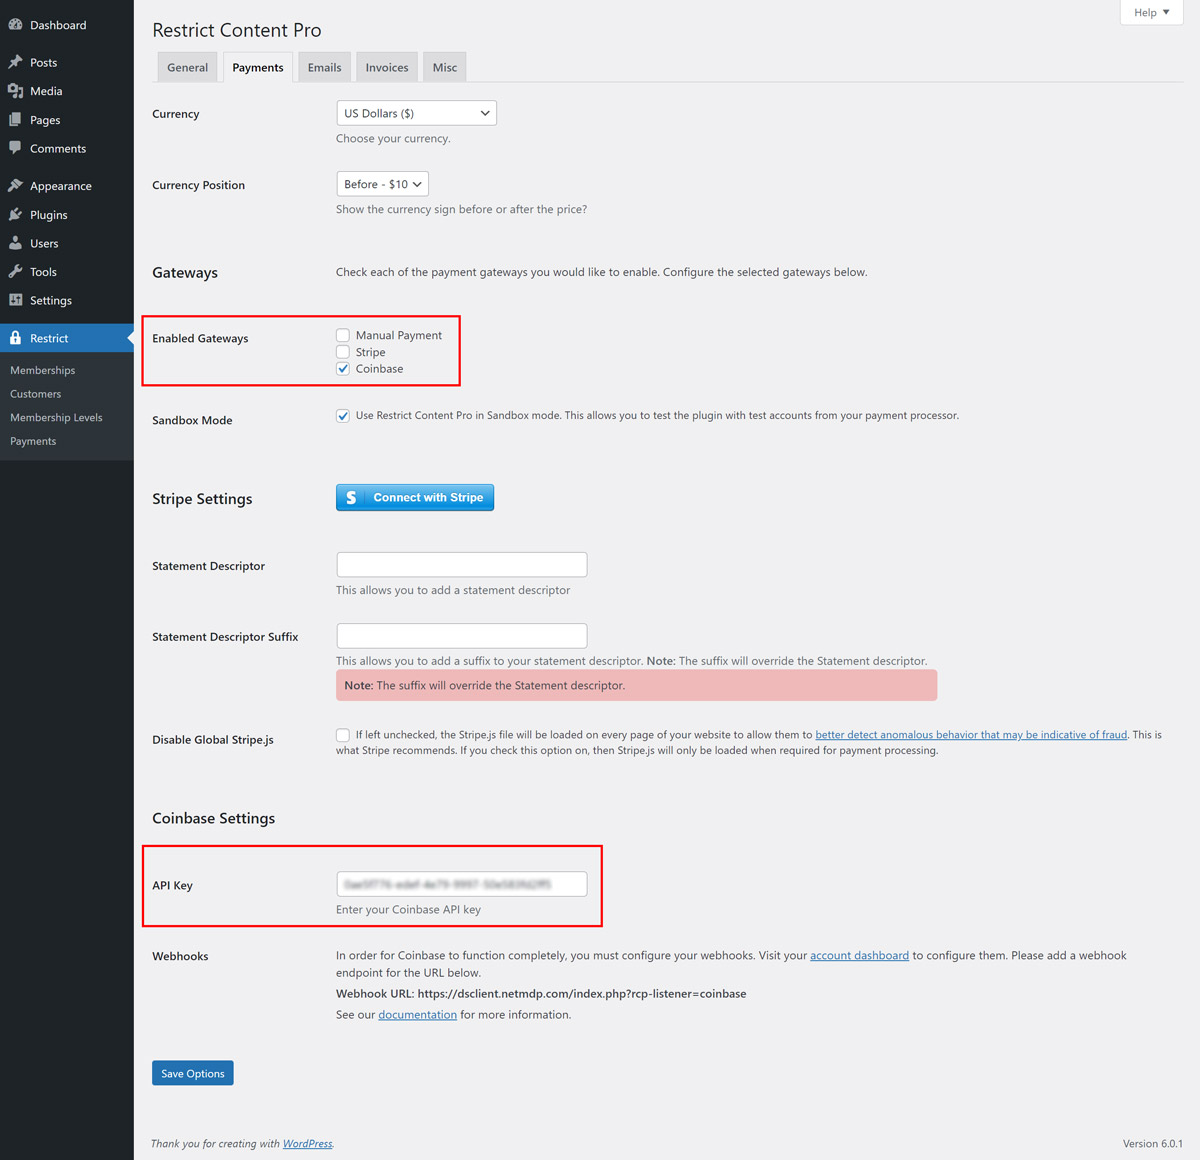
Once you are logged into your WordPress site, you must click on Restrict > Settings > Payments and enable Coinbase paymant gateway and locate the Coinbase section. Here, enter your API Key:
Now, back in your Coinbase Commerce account, you need to configure your webhooks. In the Dashboard Settings screen, locate the Webhooks section and enter the URL shown in your Coinbase settings screen within WordPress. This will allow Coinbase to communicate changes in transactions back to your store.
Note: the webhook URL must use https:// and have a valid SSL certificate configured.


