
I will work through an example, creating a feed for www.wpematico.com.
WordPress and plugins are installed.
I’m going to use the WPeMatico plugin and the WPeMatico Full Content and Make Me Feed (Good) add-ons.
-
- First, I go to my WordPress admin.
- WPeMatico Settings-> Full Content Tab.
- Here, I modify the wpematico.com.txt configuration file to get the content that I want.
- Now, I go to the list of Feeds created (none yet) and I click on Add Feed.
- I enter “WPeMatico.com test” as a title.
- Then, I add the index URL of the site which I will read the titles and links of remote items.
- Next, I enter the maximum number of items that I want to get. Others will be ignored.
- Since I have installed the WPeMatico Full Content add-on, I check the option to get the full content of each article: “Get Full Content from source permalinks to use as feed item content.”
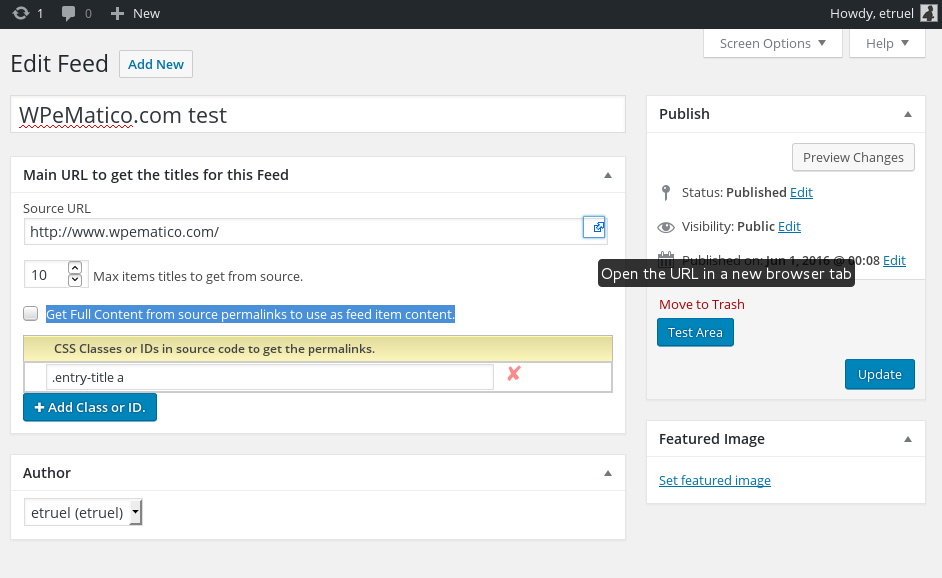
- I open the remote site in a new tab by clicking on the link to the right of the text field.
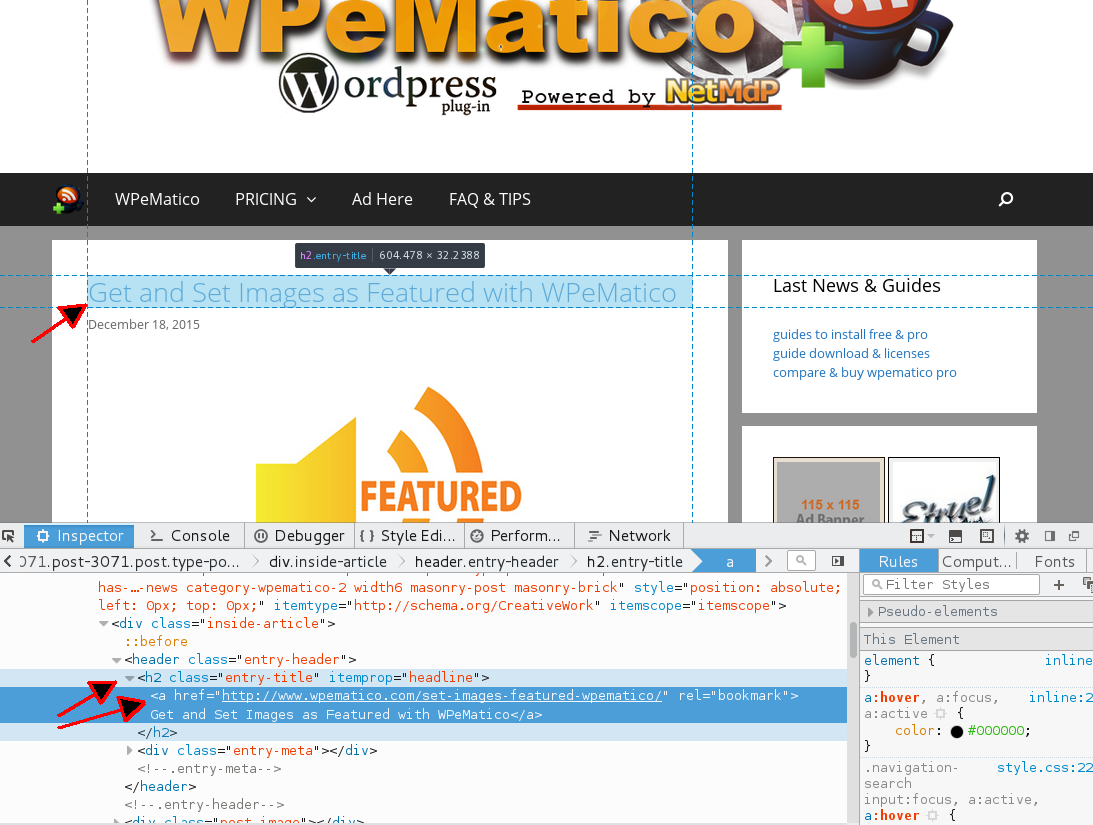
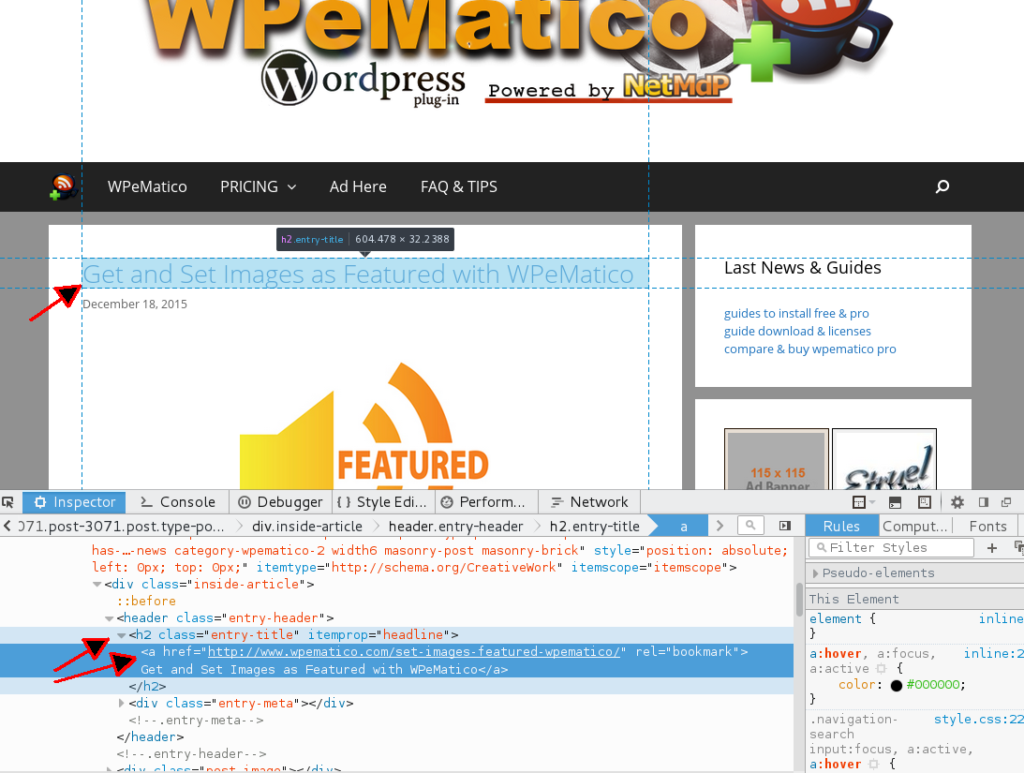
- Now, we need to find the element in the DOM that contains titles with a link to the article. I come to find CSS classes or IDs containing the element:
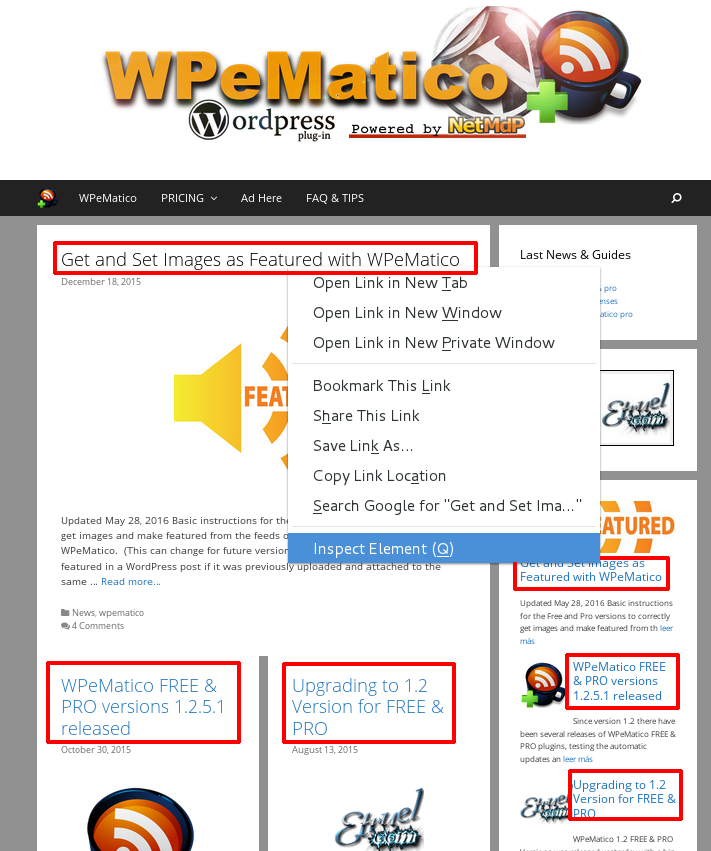
- Using Firefox (in Chrome it is very similar), I right click on any of the titles that I want to get, and in the drop-down menu, I select “Inspect Element“.
- I look for the ID or class of the HTML tag surrounding the link; in this case, the code that interests me is as follows:
- <h2 class=”entry-title” itemprop=”headline”>
<a href=”http://www.wpematico.com/set-images-featured-wpematico/” rel=”bookmark”>Get and Set Images as Featured with WPeMatico</a>
</h2> - I will use what is in red to obtain what is green: as “a” label does not identify the CSS class, I’ll use the “h2” that contains it.
 Click to open image in new browser tab.
- The identifier for this element is found with the “entry-title” starting with a “.” for being a class, (if it’s an ID, “#” is added) and the identifier in the same way that is done with jQuery. I will add it in the next field in the edition of the feed:
.entry-title a - If there are more titles with different formats, I can continue to add IDs and they will be added to the list by eliminating the repeated links.
- Using Firefox (in Chrome it is very similar), I right click on any of the titles that I want to get, and in the drop-down menu, I select “Inspect Element“.
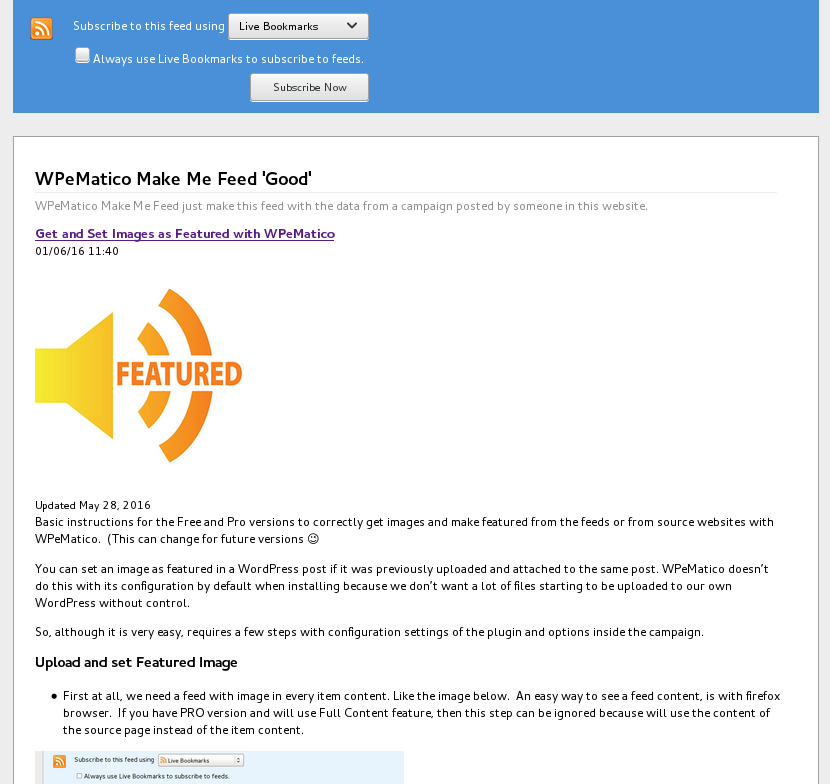
- It is almost ready! It remains to be seen if I was not wrong to choose the identifier. To check this, I have the button “Test Area“, which is used after recording the data. In this instance, I can save the feed as a draft so that it isn’t made public yet. When you click on the “Test Area” button, a popup will open with a sample of what you will get in the final feed. The first time may take a bit to load data from the remote site because you do not have a cache generated, but then it goes faster.
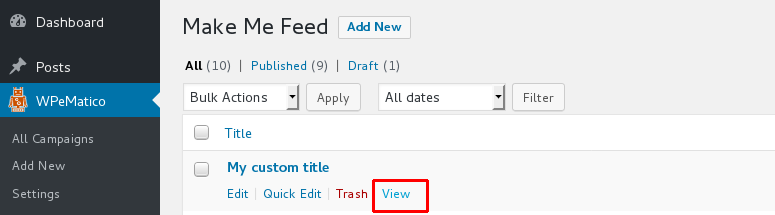
- To see the final feed, I can open “View post” or click on the “Preview Changes” button.
- Two ways to get the feed permalink:
After saving the feed.
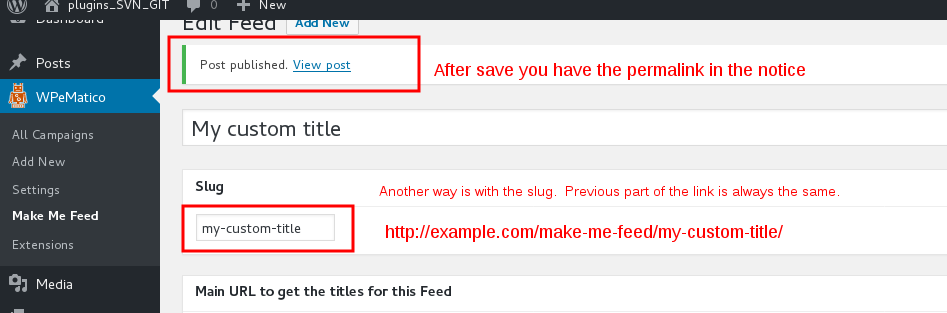 In the created feeds list, under its title you’ll see the quick action: View.