

With the Professional add-on, each post that a campaign creates can get custom fields (post meta) with values taken from the feed: the link to the original article, the name of the source, the author and more. Themes and other plugins can then show or use those values.
Enable the Feature
Go to WPeMatico → Settings, open the Professional tab, turn on Enable “Custom Fields” feature and save the settings. This adds the Custom Fields box to every campaign.
Add the Fields in the Campaign
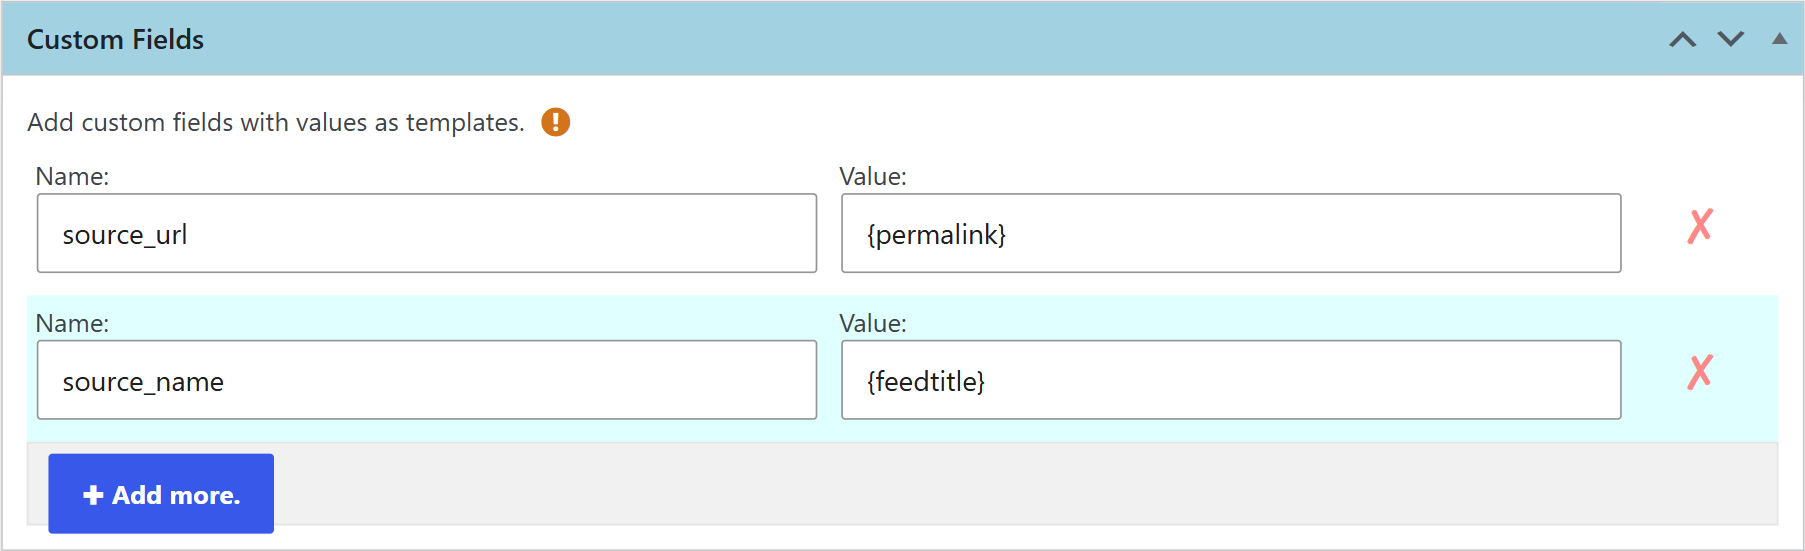
- Edit the campaign and go to the Custom Fields box.
- In Name, write the name of the custom field, for example
source_url. - In Value, write the value. You can use fixed text, the template tags, or both.
- Click Add more to add another field, and Update to save the campaign.
Tags You Can Use in the Value
- {title}, {content} and {itemcontent} — the title, the post content and the original description of the item.
- {permalink} and {author} — the link and the author of the original item.
- {image} — the URL of the featured image.
- {feedurl}, {feedtitle}, {feeddescription}, {feedlogo} and {feedfavicon} — data of the feed.
- {campaigntitle} and {campaignid} — data of the campaign.
- {item_date} and {item_time} — the date and time of the item.
Note: You can also use the tags you create with Custom Feed Tags, to save in a custom field any other tag of the feed.
Related FAQs