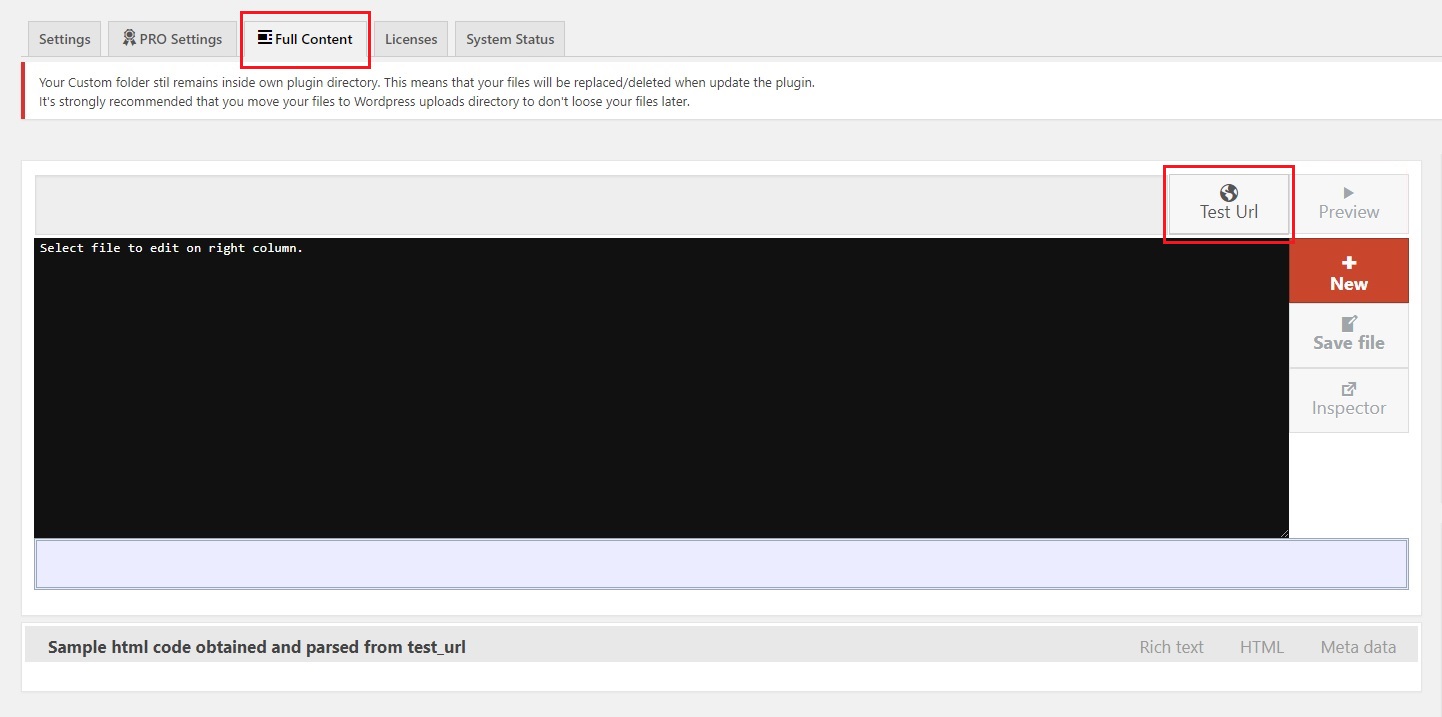
In the WPeMatico Settings, go to the “Full Content” tab and click. In this tab, you will see a series of options. The next step is to click on the “Test URL” button.
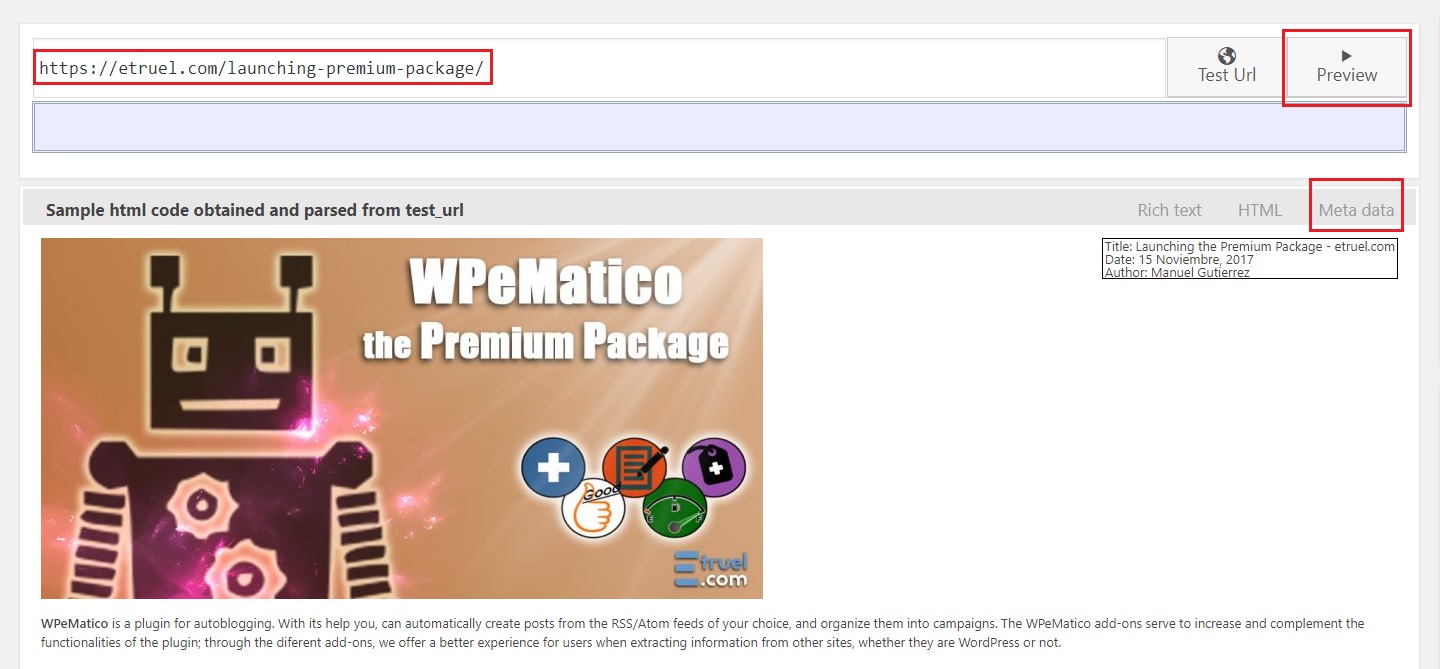
In the text field, enter the URL of some article that is in the feed you wish you use, click the “Preview” button to view its content, and go to the “Meta data” tab.
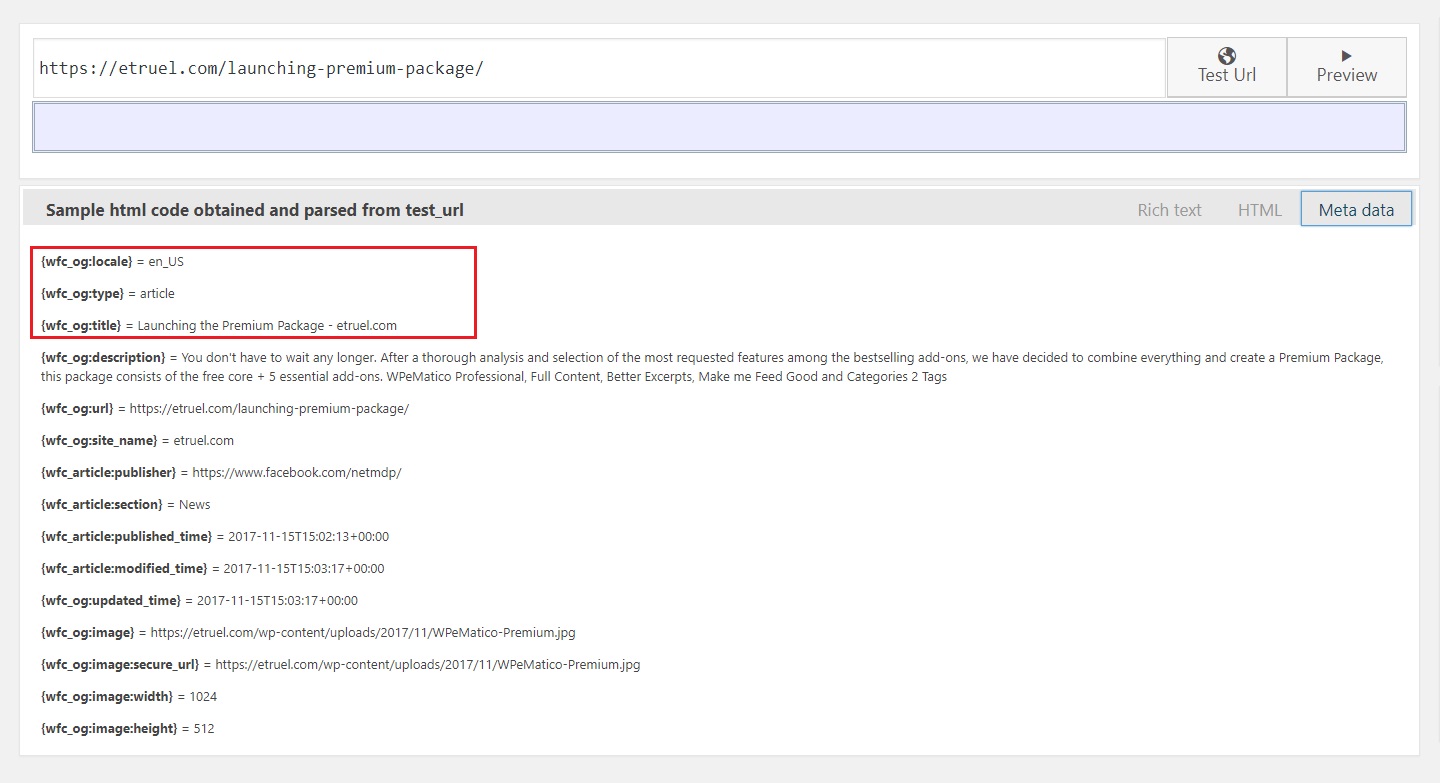
In the “Meta data” tab, you will find the metatags stored within variables and with their respective values to the right. These variables are created automatically when the content of the URL is captured. In the images below, you can check the content of the metatags: the first image was taken from the “Meta data” tab, while the second was taken from the browser’s “view-source”.
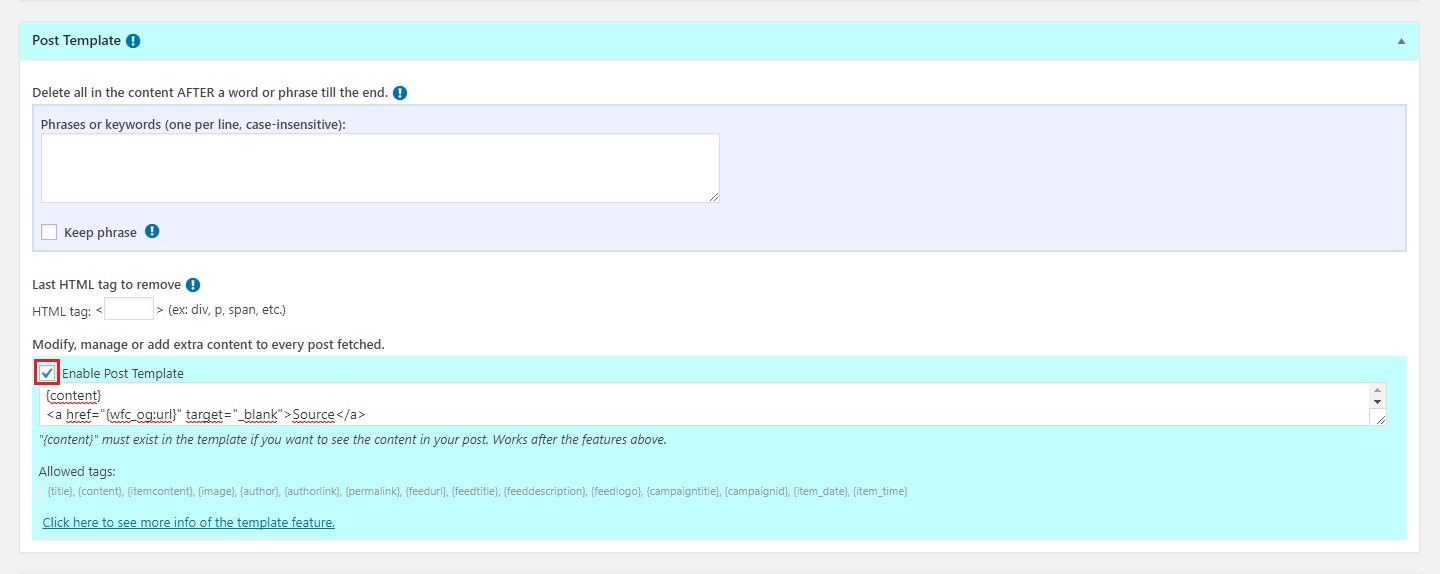
Now that you have found the metatags, you can add them to your content. To do this, you must activate the option “Enable Post Template” in the campaign editor, and in the text area you would write, for example:
{content}
<a href=”{wfc_og:url}” target=”_blank”>Source</a>
In this case, we were able to show a link with the original “source” at the end of the post content.
Another way to use metatags is with “Custom Fields”. To do this, you must have the WPeMatico Professional add-on, and in WPeMatico Settings, go to the “PRO Settings” tab to check the “Enable Custom Fields feature” option. Then, in the campaign editor, you will find a new section called Custom Fields where you can define the name of the field and its value. In the example below, you can see that the name of the field is source and its value is {wfc_og:url}. After finishing the configuration, save and execute the campaign. Upon reviewing the posts you obtained, you can confirm that the personalized field exists with its respective value that you previously added from within the campaign.


