
Table of Contents
WPeMatico Cache is a powerful plugin whose objective is to optimize the speed and reduce the overhead of the websites where it is installed, thanks to the processes and technologies used for its development.
This tutorial describes and explain how to setup the WPeMatico Cache, available here.
Installation
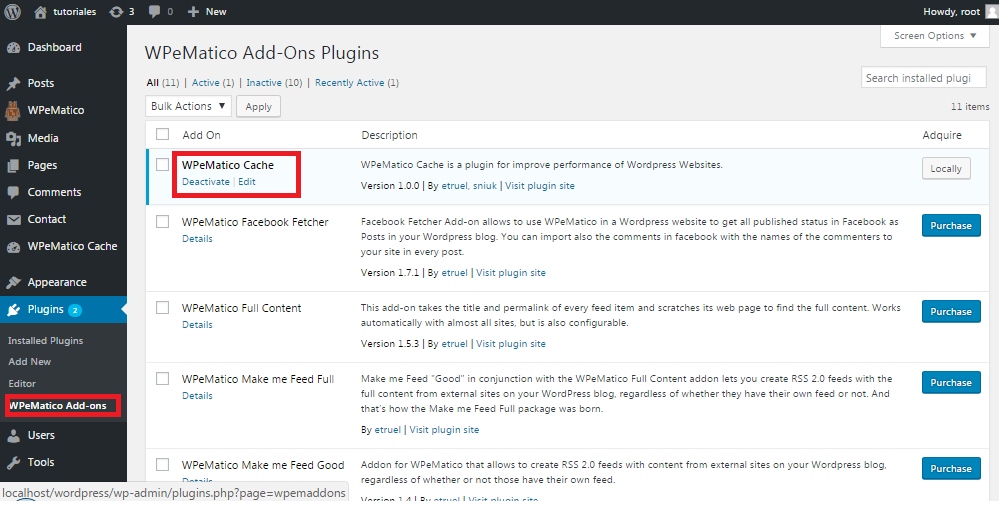
Unlike the majority of the WPeMatico add-ons, WPeMatico Cache doesn’t need the WPeMatico free plugin installed to work perfectly.
After installing WPeMatico Cache, go to the menu ‘Plugins’ (-> ‘WPeMatico Add-ons’ if it’s installed WPeMatico plugin) Search the WPeMatico Cache row and activate the plugin.
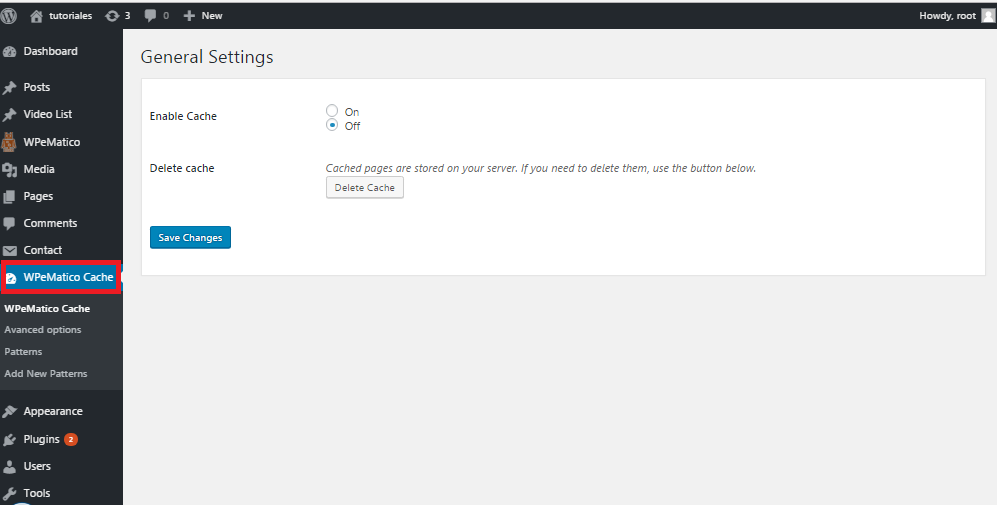
General Settings
The general configuration has the most important option, like activate or deactivate the cache, and the action to delete the whole website cache.
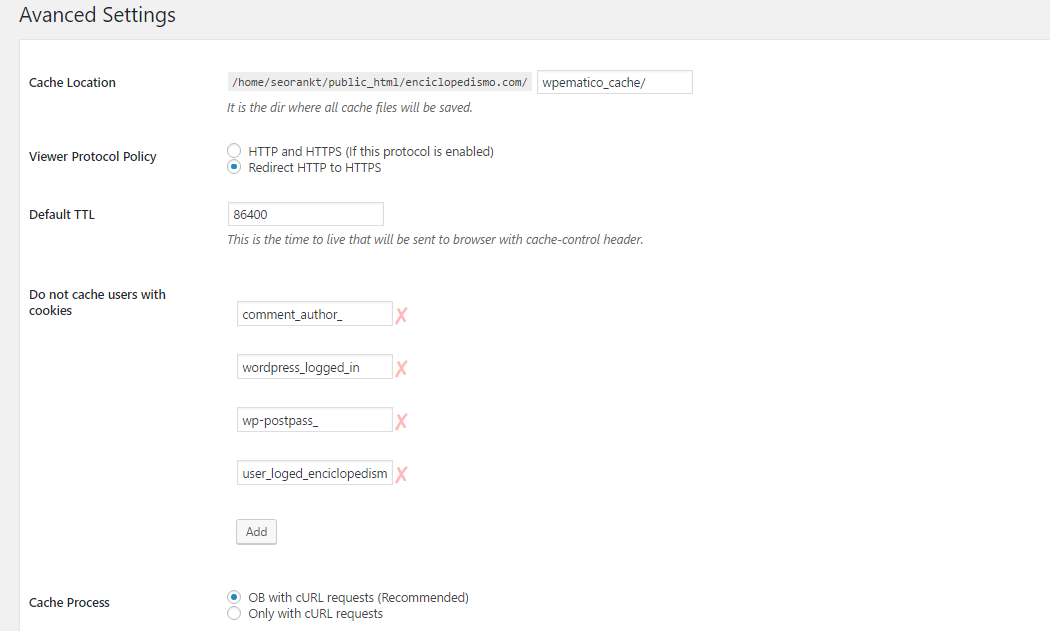
Advanced Options
Advanced options bring by default the optimal and recommended options like:
- Cache Location: Specifies the path of the file system, where it will kept the cache objects of every page, this option can be changed to other customized path.
- Viewer Protocol Policy
- HTTP and HTTPS (If this protocol is enabled): selecting this option the WPeMatico Cache keeps the cache in both protocols as in the HTTP and in HTTPS if it exists.
- Redirect HTTP to HTTPS: This option can be chosen only if HTTPS exists in the website, when it is chosen it redirect the users from HTTP to HTTPS, and other advantages as create a cache of the certificate to improve the speed through the header Strict-Transport-Security.
- Default TTL: The time life by default is used in the whole website to specifies the lifetime of the cache objects but in the client-side rather the user browser is besieged the header Cache-Control with the value specified in the field.
- Do not cache users with cookies: This list allows add the users which have the part of the name of a Cookie, it won’t be showed in the objects in cache, as the users that have begun session in the WP-ADMIN, you can also add other cookies to websites which uses user roles at the theme system.
- Cache Process:
- OB with cURL requests (Recommended): this option is recommended by default because it uses OB (Output Buffer) to create the first cache of a page being faster and optimum, and in the next cache updates of the same object it will be used the cURL for its update.
- Only with cURL requests: It is only used with cURL to get the content of the pages to be cached, that’s why it is usually slower, nules there are cases where there are conflicts on OB with others plugins, in these cases is recommended this option.
Patterns
It allows create patterns to decide how and when create the caches in the pages according to the options in the pattern data.
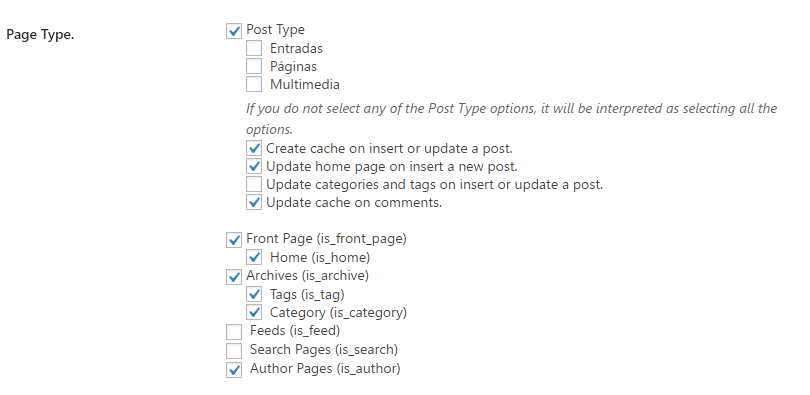
- Page Type: The options of the kind of pages, are the different post types where it will be used other cache options. For example, if it only select Home ( is_home() ) the options configured in that pattern only affects to the homepage in the website. This way, you can create different patterns to draw on and better configure how the cache will be created.
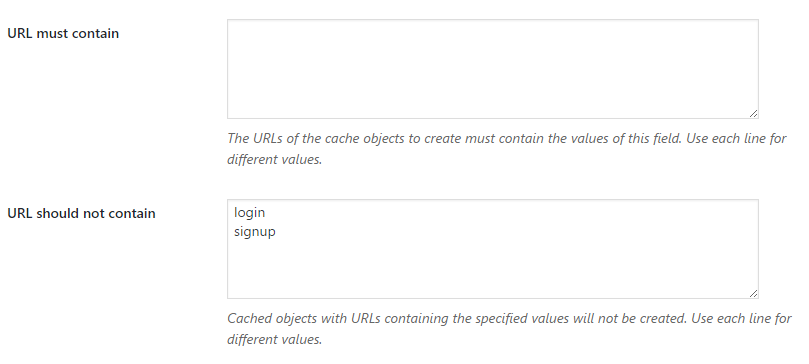
- URL must contain: This option allows use values which must contain the URLs of the pages so you can create a cache object of this one, you can assign many values in every text field.
- URL should not contain: This option allows establish the values which can’t contain in the URLs of the pages to create a cache object of it. You can assign many values in every line of the text field. For example, add “login” in the text field to avoid a cache of a page which contents “login” in the URL.
- Cache Type: Allows select the type of cache to use in the pages that meet the patterns of Page Type y URLs:
- HTML static (Ultra fast): This option create a cache in HTML format, in this way avoid the PHP execution in the front-end accelerating the load of the page, plus reducing the server CPU cost.
- PHP Files (Accept GET and POST params): This option allows create cache from pages which has parameters GET or POST like Feed or WordPress search; this option is less optimal than HTML static.

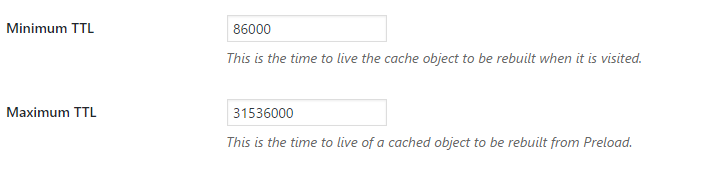
- Minimum TTL: Is the lifetime of the cache to be rebuilded or updated when is visited by the users that are navigating for the website. This option is overwritten by other options as:
-
- Update home page on insert a new post.
- Update categories and tags on insert or update a post.
- Update cache on comments.
- Maximum TTL: Is the lifetime of the cache objects to be rebuilded or updated from the preload process of the WPeMatico Cache.
Both options TTL must be specified in seconds.
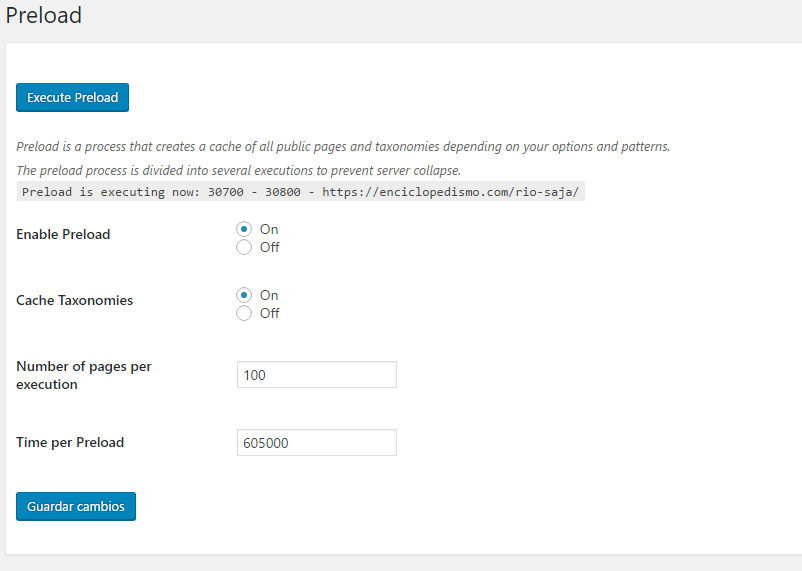
Preloads
It’s a process to create the cache of all public pages of the website depending of the created patterns, this way keep a cache of the whole site so all the users enjoys an excellent speed of load of any page of the website.
- Execute Preload: It’s a bottom which allows execute the preload without wait for the Time per Preload, this bottom is only accessible if the preload is active.
- Enable Preload: Allows activate or deactivate the preload process.
- Cache Taxonomies: By activating this option the preload process will create cache of every public taxonomies (Categories or Tags) which can be accessed by the users in the website.
- Number of pages per execution: The preload process is separated by different processes to avoid the collapse of the website. With this option you can set the number of pages which will create a cache object for every execution of the preload process.
- Time per Preload: Is the time in seconds for the next execution of the preload alter finishing the previous execution.